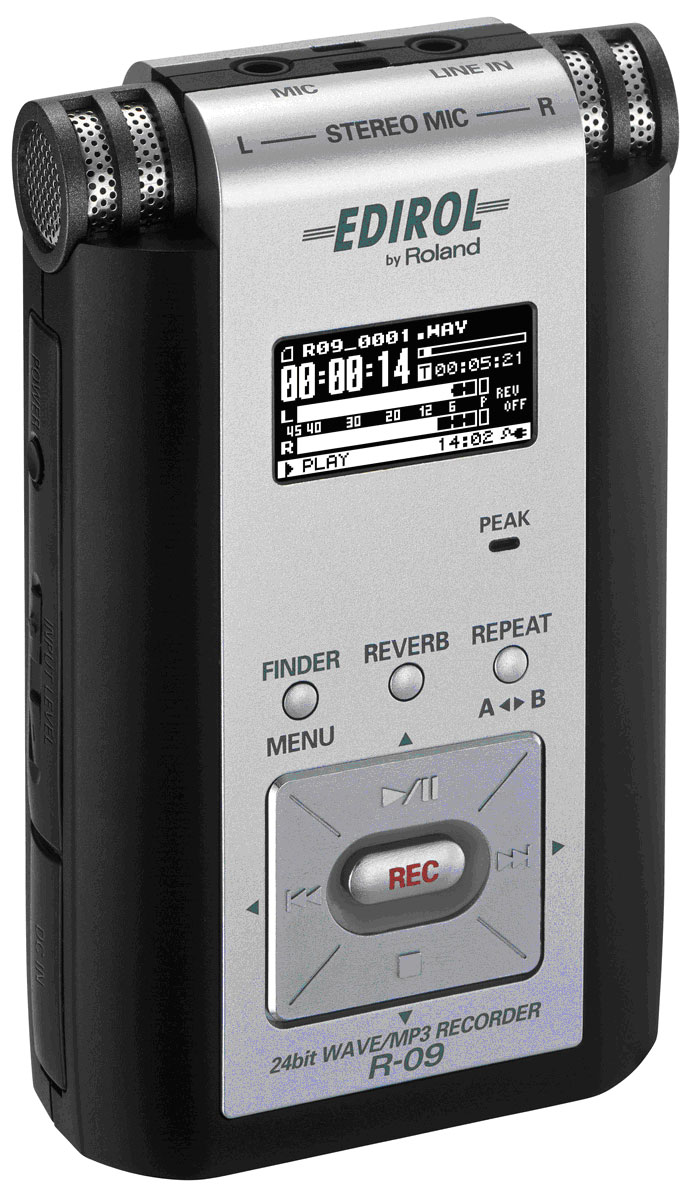
This image shows the record button off.
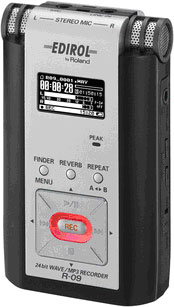
This image shows the record button on and recording.
All instructions refer to this image above. The main controls are located on the front of the unit. The controls for recording are all located on a big square (2 cm square) multi-propose button. In the middle of the button is the record button (REC in red letters).
Before starting:
- Place DVD in DVD player.
- Turn on TV.
- Set up TV to show DVD player. The films’ menu should be displayed on the screen.
- Turn off the TV’s audio. Some TV’s have a MUTE button…select the mute or turn the volume off.
Set up and start recording:
1. Turn on the unit by pressing the little (2 mm dia) circular button and holding it until the LCD display starts to light up.

This is the left side of the unit. Note the small round on/off button. Also, located here is the "DC IN" flap. Lift the flap marked "DC IN" to plug in the DC power (ie. the power plug into the wall socket).
2. Before or after step one, plug in the mic into the plug on top of the unit on the left hand side (says MIC…not the LINE IN).
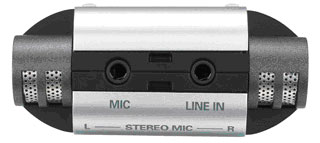 Note the MIC and LINE IN holes.
3. Push (tap) the record button (REC in red letters) once. The “oval frame” around the record button should now be blinking red. You are now PAUSED and ready to start recording.
4. Test the recorder to make sure everything is ready by:
a. Talking or making noise. The LCD display has two horizontal bars for the left and right channels. These bars should be moving back and forth as you are making noise. When you are talking into the mic, the bars should move between the 50% to 75% most of the time.
b. At the top of the LCD window, you should see the track or recording number. This number will advance by one every time you stop and start a recording. The number will look like: R09-0001.mp3 The next time you STOP and start the number will be R09-0002.mp3.
5. Push (tap) the top of the big square button (marked by an arrow-head and two bars). The blinking red light should now be solid red. The LCD display with the numbers, 00:00:00, should also be starting to count up. You are now recording.
6. Speak/say which DVD disk and the menu item is being recorded (this will make it easier for matching the voice-over audio to the film).
7. Push PLAY on the DVD player to start playing the film and start your commentary.
8. If the phone rings or you just need to get up for a moment you can PAUSE the unit by pushing (tap) the top of the square button.
9. To STOP recording, push (tap) the bottom of the button (marked by a little square).
10. To turn the unit off. Push and hold the little round button on the upper left side of the unit until the LCD starts to turn off.
Bottom of the unit:
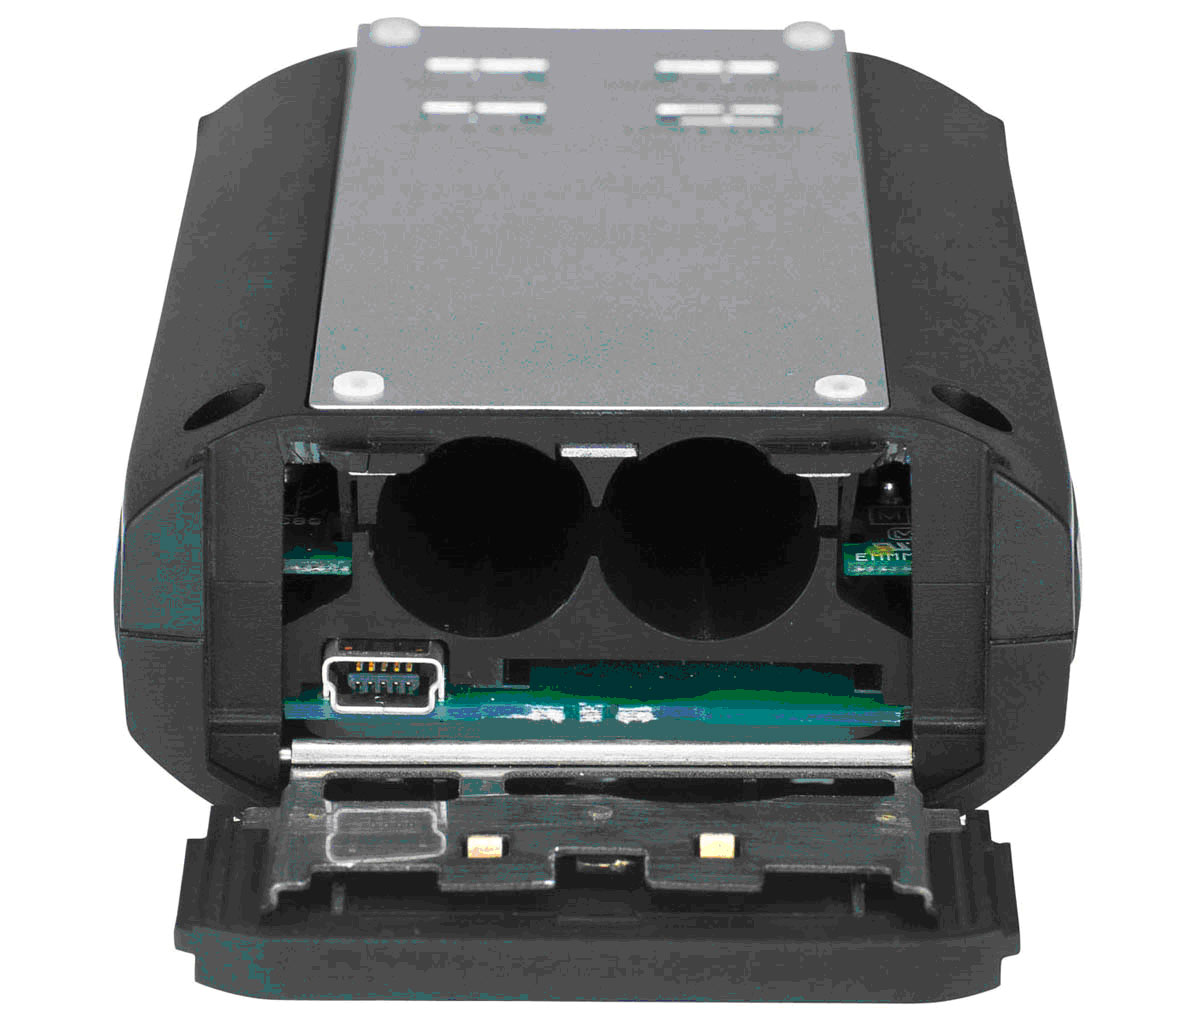 You should not have to access this. However, the bottom of the recorder has the two AA batteries, a slot for the memory card, and a USB plug to connect the recorder to the computer for downloading the audio files.
The back of the recorder:
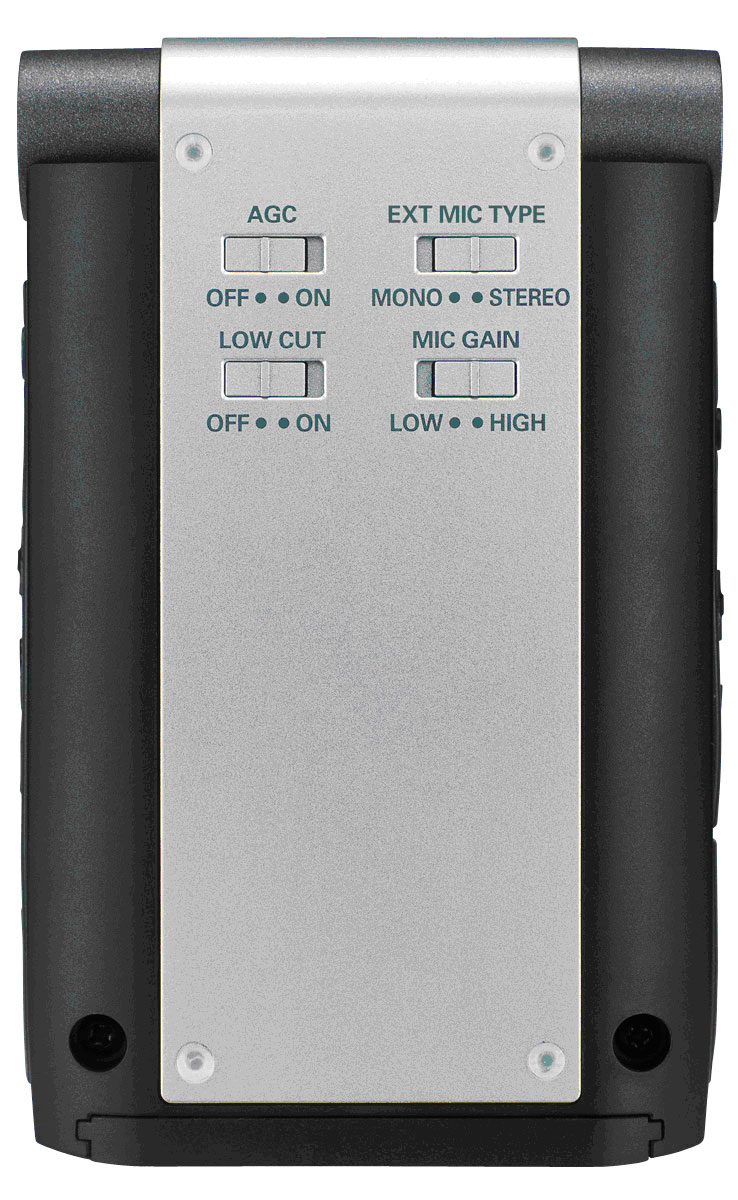 The four switches on the back should already be set correctly and should look as shown in the picture.
The right side of the recorder:
 A head-phone jack is located at the top. If you wish to listen to the audio that has or is being recorded you can plug headphones into this hole. The volume of the headphones is controlled by the "volume - and +" buttons located just below the headphone jack. The hold button should be in the off position.
